This page may contain affiliate links; you can read our full disclosure.
5 Easy Camping Meals You Can Make With Minimal Gear
Cooking outdoors doesn’t need to feel like a chore. The best camping meals are the ones you can throw together fast using basic ingredients, minimal gear, and as few dishes as possible. These five recipes hit that sweet spot — simple, filling, and ready in minutes so you can get back to relaxing around the fire.
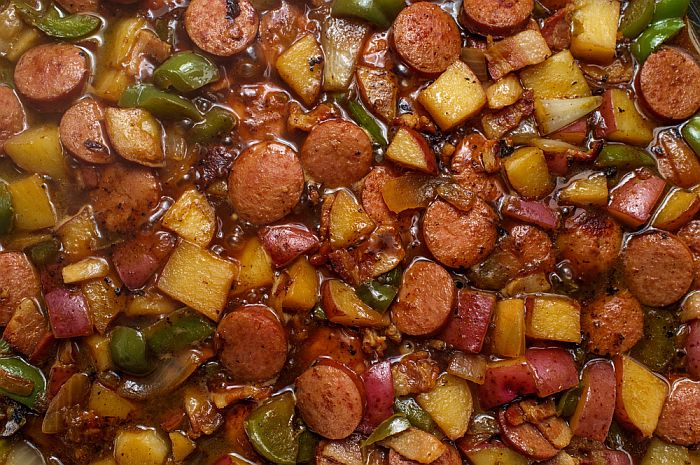
1. One-Pan Sausage and Potato Skillet
A camping classic that never fails. Hearty, cheap, and cooked in a single pan.
Ingredients
- Pre-cooked sausage or kielbasa, sliced
- Diced potatoes or frozen hash browns
- Onion (optional)
- Oil or butter
- Salt, pepper, garlic powder
Instructions
- Heat oil in a skillet over a stove or campfire.
- Add potatoes and cook until browned.
- Add sausage and onion.
- Season and cook until everything is hot and crispy.
Why it works: Breakfast, lunch, or dinner — one pan, zero stress.
2. Foil-Wrapped Chicken and Veggie Packs
Zero dishes. Zero hassle. Everything cooks inside the foil.
Ingredients
- Chicken pieces
- Chopped veggies (bell peppers, onions, zucchini, potatoes)
- Olive oil
- Seasoning of choice
- Heavy-duty foil
Instructions
- Lay out foil and add chicken, veggies, oil, and seasoning.
- Wrap tightly into a sealed packet.
- Cook over coals or a grill for 20–25 minutes, flipping halfway.
Why it works: Juicy, forgiving, and cleanup is tossing the foil.
3. Campfire Quesadillas
Fast, melty, and always a win when hunger hits out of nowhere.
Ingredients
- Flour tortillas
- Shredded cheese
- Beans, cooked chicken, or veggies (optional)
- Salsa or hot sauce
Instructions
- Heat a pan or place foil near the fire.
- Add cheese and fillings to a tortilla.
- Fold and cook until golden, 1–2 minutes per side.
Why it works: Quick, flexible, and perfect for lunch or late-night snacks.
4. Chili Mac (Two-Can Special)
Cold, tired, and not in the mood to cook? This fixes that.
Ingredients
- 1 can of chili
- 1 can of mac and cheese
- Optional: shredded cheese, hot sauce
Instructions
- Pour both cans into a pot.
- Heat until bubbling.
- Add extras if you want to level it up.
Why it works: Warm, filling comfort food with zero prep.
5. Campfire Pizza Bread
Easy, fast, and way better than it has any right to be.
Ingredients
- Hot dog buns or sliced French bread
- Pizza sauce
- Shredded mozzarella
- Pepperoni or toppings of choice
Instructions
- Spread sauce on the bread.
- Add cheese and toppings.
- Wrap in foil and heat over coals for 5–10 minutes.
Why it works: Tastes like pizza, packs easy, cooks fast.
Final Thoughts
Camping meals should be simple enough to make while you’re half-distracted by the fire, the view, or the fact that your chair is slowly sinking into the dirt. These five recipes are fast, filling, and reliable — perfect for beginners and seasoned campers who don’t feel like playing chef.
